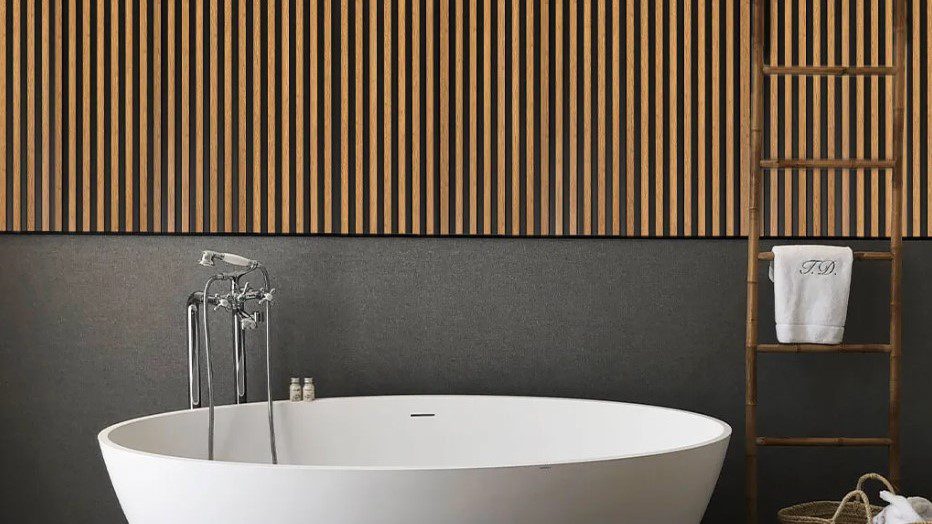


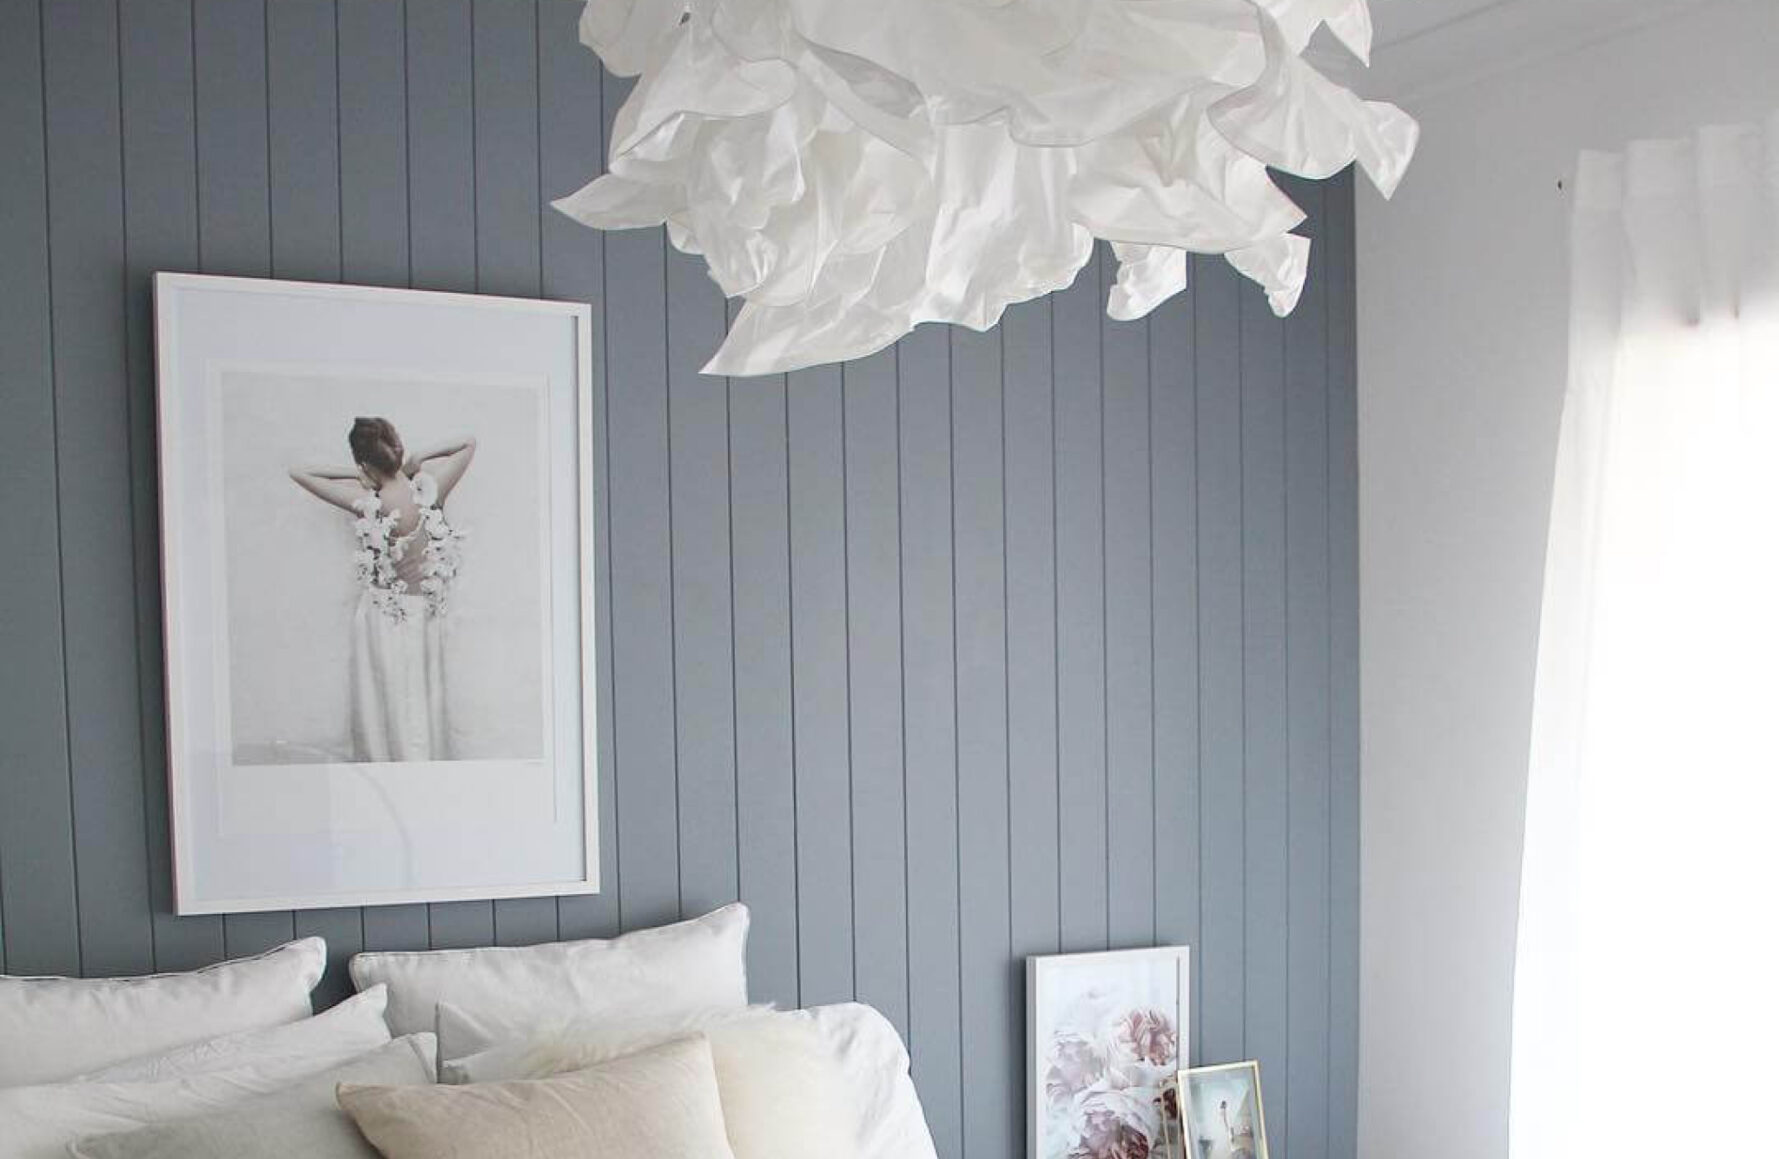
Hey there, fellow home enthusiasts! Have you ever walked into a room and felt an instant wave of warmth and welcome wash over you? Well, I’m about to let you in on a little secret that could very well be the game-changer for your space: tongue and groove wall panels. Yes, you heard that right! These aren’t just any ordinary panels; they’re like the secret sauce that can transform your room from meh to mesmerizing. So, grab a cup of your favorite beverage, and let’s dive into the world of these magical panels together!
What’s the Big Deal with Tongue and Groove Wall Panels?

First off, let’s break down what tongue and groove wall panels are. Imagine each panel as a piece of puzzle, where one side (the “tongue”) fits perfectly into the groove of another panel. This not only makes installation a breeze (well, almost) but also gives your walls a seamless, cohesive look that’s hard to achieve with other materials.
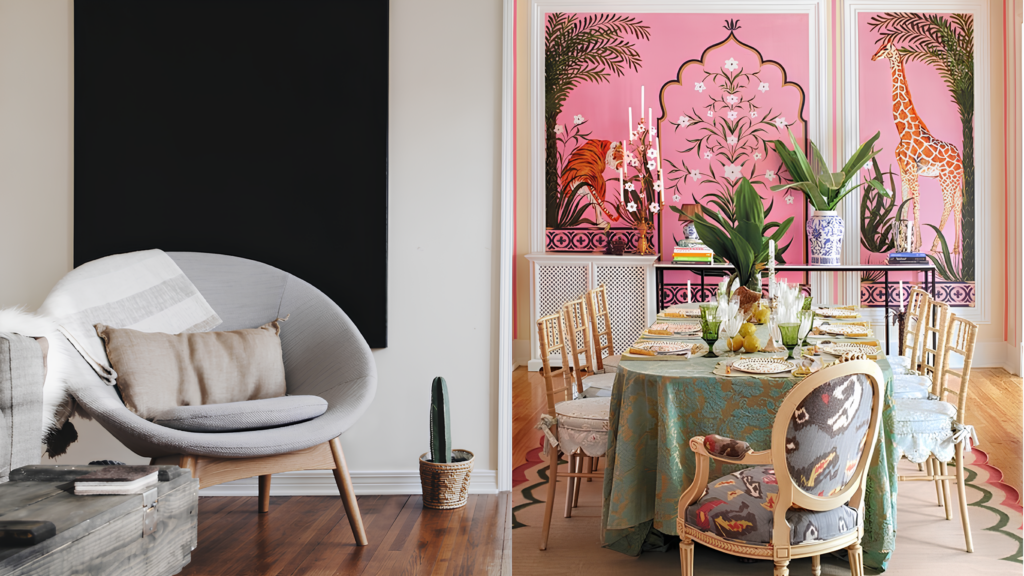
But why go for tongue and groove? For starters, they add an instant touch of elegance and character to any room. Whether you’re aiming for a rustic cabin vibe, a beachy retreat, or a sleek modern look, these panels have got you covered. Plus, they’re a fantastic way to add insulation and soundproofing to your space, making them as practical as they are pretty.
Let’s Talk Aesthetics and Practicality
One of the best things about tongue and groove wall panels is their versatility. You can paint them in any color to match your decor, stain them to highlight their natural beauty, or even leave them as is for a raw, earthy feel. And let’s not forget the variety of materials available, from classic wood to moisture-resistant options like MDF, perfect for bathrooms and kitchens.
But here’s the kicker: installing these panels can be a fun DIY project that adds a personal touch to your space. Imagine the bragging rights when your guests marvel at your walls, and you get to say, “Oh, these old things? I installed them myself!
Read More: Wall Panel vs Drywall: 4 Things You Should Be Considering!
Installation: Not as Daunting as You Think

Now, I know what you’re thinking: “But I’m not a DIY guru!” Fear not, my friend. Installing tongue and groove panels is surprisingly straightforward. With a few basic tools and a can-do attitude, you can create a masterpiece. The key is to start from the bottom, work your way up, and ensure everything is level. And remember, the internet is full of tutorials and guides to help you through the process. You’re not alone!
Gathering Your Tools and Materials
Before you start, make sure you have all the necessary tools and materials. You’ll need:
- Tongue and groove panels (obviously!)
- Finishing nails or a nail gun
- A saw (hand saw or power saw, depending on your comfort level)
- A level
- A hammer (if not using a nail gun)
- Measuring tape
- A pencil for marking
Preparation is Key
- Measure your space: Knowing the total area you need to cover will help you determine how many panels you’ll need. It’s always a good idea to purchase a little extra to account for any mistakes or misjudgments.
- Acclimate your panels: If you’re using wood panels, let them sit in the room for a few days before installation. This allows them to adjust to the room’s temperature and humidity, reducing the risk of warping or gaps later on.
Let’s Get to Work
- Start from the bottom: Begin your installation at the bottom corner of the wall. This is crucial for ensuring that your panels are level as you work your way up. Use your level to make sure the first panel is perfectly straight.
- Secure the panels: Once you’re happy with the placement, secure the panels to the wall. If you’re using nails, aim for the top of the tongue part of the panel. This technique hides the nails for a cleaner look once the next panel is in place.
- Fit them together: Slide the groove of the next panel over the tongue of the already attached panel. This should create a snug fit. If you’re having trouble, a gentle tap with a rubber mallet can help lock them into place without damaging the wood.
- Repeat and check: Continue this process, always checking with your level as you add each new panel. It’s easy to start veering off without realizing, so frequent checks ensure a straight, professional-looking finish.
- Cutting to fit: You’ll inevitably come to a point where you need to cut a panel to fit. Measure twice, cut once is the golden rule here. When you reach the top of the wall, you may need to cut the panel lengthwise to fit the remaining space.
- Finishing touches: Once all the panels are securely in place, you can add any trim or molding at the top and bottom of the wall for a polished look. This is also the time to fill any nail holes with wood filler, sand down any rough edges, and apply your chosen finish.
Read More: 10 Accent Wall Design Tips: How To Make A Bold Statement
Styling Tips and Tricks

Congratulations! Your tongue and groove wall panels are up, and your space is already looking more inviting. But the real cherry on top? Styling your new architectural feature. This is your chance to infuse personality and flair into your room. Whether you’re a minimalist at heart or a maximalist in spirit, here are some bullet-proof styling tips and tricks to make your paneled walls stand out.
Think of your newly paneled wall as a blank canvas. It’s not just a wall; it’s a statement piece, a conversation starter, and a reflection of your unique style. The texture and depth provided by the panels create a perfect backdrop for various decor elements. Here’s how to make the most of it:
- Artwork is Your Best Friend: Hang bold, eye-catching art pieces that complement the color and texture of your panels. The art doesn’t have to be expensive; it just has to speak to you. Consider varying the sizes and frames for an eclectic look.
- Shelf Life: Install floating shelves that blend with the paneling for a seamless look or contrast them for a pop of surprise. Use these shelves to display books, small plants, or your collection of knick-knacks. Remember, less is often more for a sophisticated vibe.
- Greenery Galore: Wall-mounted planters or even a vertical garden can bring life to your walls. Choose plants with varying textures and lengths for a lush, vibrant feel. Not only do they look great, but they also improve air quality.
- Light It Up: Strategic lighting can enhance the texture of your panels and create a warm, inviting ambiance. Consider wall-mounted sconces or string lights for a soft, cozy glow.
- Mirror, Mirror on the Wall: A large mirror can make the room feel bigger and brighter. Choose a frame that complements your panels for a cohesive look. Plus, it’s perfect for those last-minute outfit checks.
- Textural Tales: Mix and match different textures in your decor items. Soft fabrics, smooth ceramics, and rough natural elements like wood or stone can play off the panels’ texture, adding depth and interest to your space.
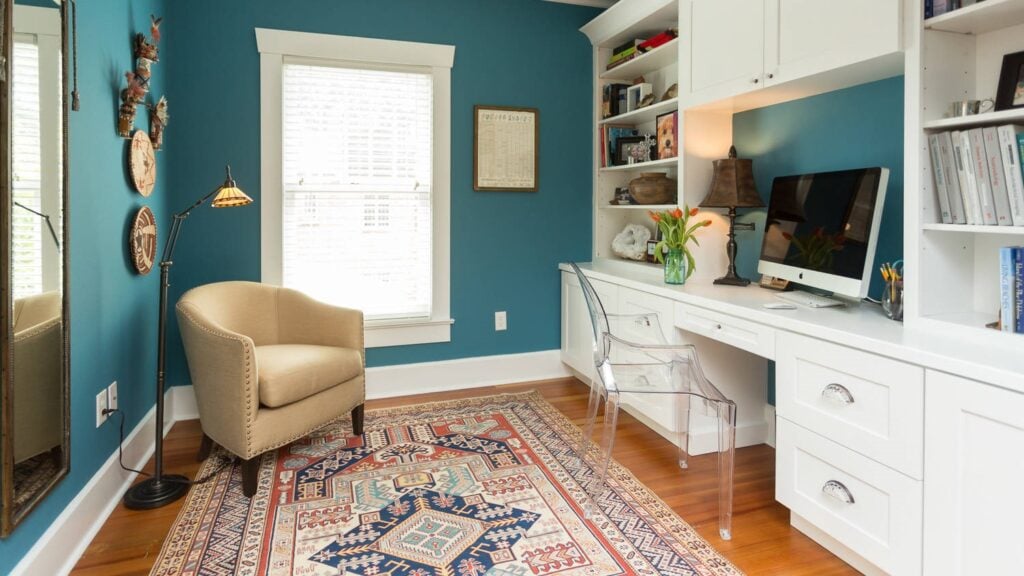
- Color Play: Use your wall as a backdrop to experiment with color. Whether you’re into bold, vibrant hues or soft, pastel tones, the panels can serve as a neutral base for your color explorations.
- Personal Touches: Finally, don’t forget to add personal items that mean something to you. Whether it’s family photos, travel souvenirs, or a piece of artwork you created, these touches make the space truly yours.
The Secret Ingredient to a Cozy Home
At the end of the day, tongue and groove wall panels are more than just a decor choice; they’re a lifestyle. They bring a sense of warmth and coziness to your home that’s hard to replicate with paint or wallpaper alone. It’s like wrapping your room in a cozy blanket that whispers, “Welcome home.”
Read More: Wall Covering Ideas For Bathroom: Creative & Stylish Solutions
Final Thoughts: Why You Should Give Them a Try

So, there you have it, folks! Tongue and groove wall panels are the unsung heroes of the interior design world. They’re versatile, easy to install, and can completely transform the look and feel of your space. Whether you’re a seasoned DIYer or a newbie looking to dip your toes into home improvement, these panels are a fantastic way to add character and charm to your home.
Remember, the goal is to create a space that feels uniquely yours. So, don’t be afraid to experiment, mix and match styles, and most importantly, have fun with it! After all, the best spaces are the ones that tell a story – your story. And who knows? With tongue and groove wall panels, you might just write the next chapter in your home’s design saga.
Conclusion
So, what are you waiting for? It’s time to roll up your sleeves, unleash your inner designer, and give your walls the makeover they deserve. Trust me, your future cozy, chic, and utterly charming space will thank you. Happy decorating!
FAQ
What is the cheapest way to panel a wall?
The most cost-effective method to panel a wall is by opting for MDF (Medium Density Fiberboard) tongue and groove panels. MDF is not only affordable but also versatile, allowing for a variety of finishes to match your decor. Additionally, taking on the installation as a DIY project can significantly reduce costs, as professional installation can add to the overall expense.
How do you attach tongue and groove panels to the wall?
To attach tongue and groove panels to a wall, start by preparing the wall surface to ensure it’s clean, dry, and smooth. Locate the wall studs and mark their positions. Begin at the bottom corner of the wall, placing the first panel with the groove side facing down. Secure the panel to the studs using finishing nails or a nail gun, ideally through the tongue part to hide the nail heads. Continue fitting each panel by sliding the tongue of the new panel into the groove of the already attached panel, securing them as you go. For a snug fit, gently tap the panels with a rubber mallet if necessary. Measure and cut panels to fit any remaining spaces, especially for the top row or around fixtures.
Can you use tongue and groove on walls?
Yes, tongue and groove panels can be used on walls and are an excellent choice for adding character and warmth to any room. These panels are versatile enough to be installed in various orientations—vertically, horizontally, or diagonally—to suit different design preferences. They work well in a range of settings, from living rooms and bedrooms to bathrooms and kitchens, offering a timeless aesthetic that can complement both traditional and contemporary interior designs.