Wood wall coverings have grown in favor among interior designers due to its ability to provide warmth, texture, and visual appeal to any area. Whether you want to create a rustic, modern, or eclectic atmosphere, understanding the art of wood wall treatments will help you improve your design skills.
With the appropriate tips and tactics, you can turn plain walls into magnificent focus pieces that draw attention and reflect your unique style. In this post, we will walk you through the process of mastering wood wall treatments, providing essential insights and specific methods to help you achieve outstanding results.
Choosing the Right Wood for Your Wall Treatments
When it comes to wood wall treatments, selecting the right type of wood is crucial to achieving the desired aesthetic and durability. Consider factors such as the color, grain pattern, hardness, and sustainability of the wood. Hardwoods like oak, walnut, and maple are popular choices for their strength, natural beauty, and versatility. Softwoods like pine and cedar offer a more rustic charm.
Alternatively, explore reclaimed wood or engineered wood panels, which provide unique textures and eco-friendly benefits. Consider the overall style and atmosphere you want to create and select wood that complements your vision. It’s also important to consider the practical aspects, such as the wood’s resistance to moisture and its suitability for the specific wall location.
Preparing and Pre-Treating the Wood
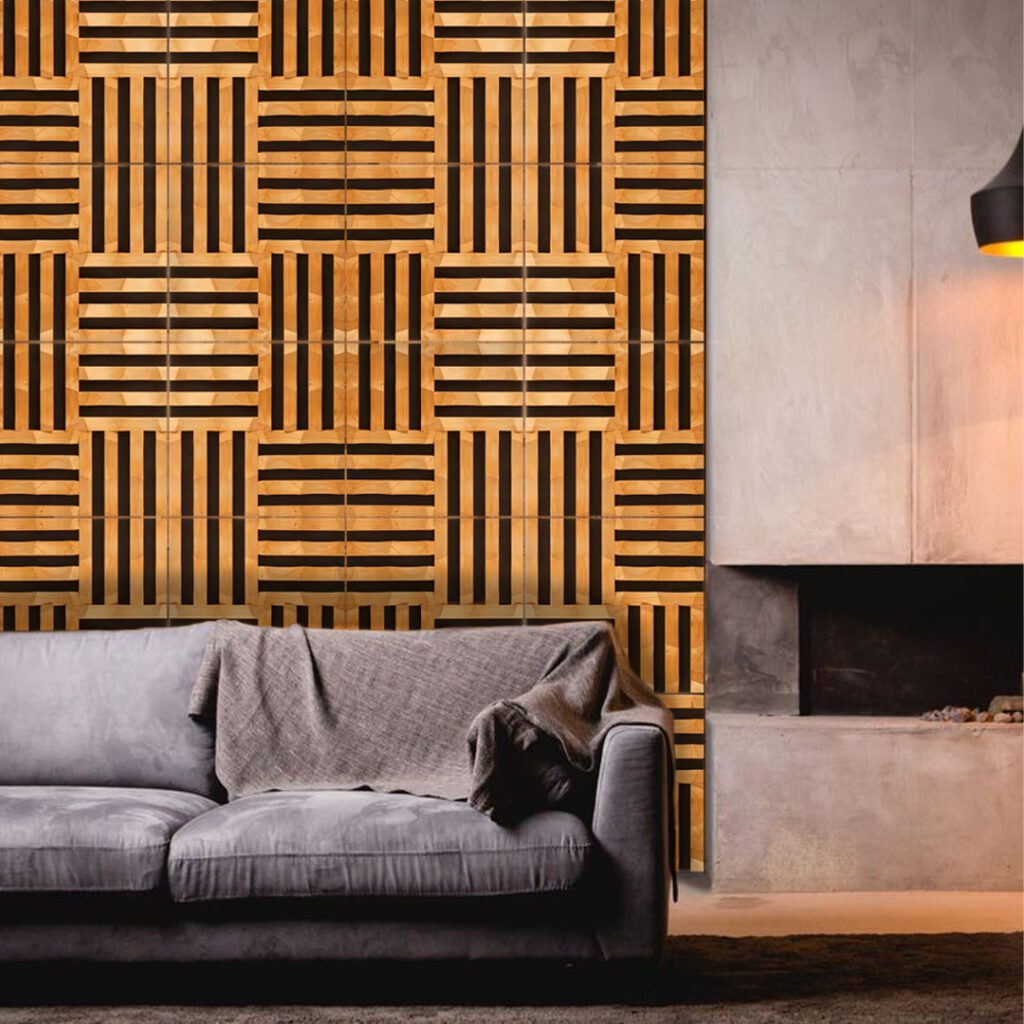
Proper wood preparation and pre-treatment are critical elements in ensuring the durability and quality of your wood wall treatments. Begin by making sure the wood is clean, free of dust, debris, and any previous treatments. Sand the surface to provide a smooth and equal foundation for the treatment materials. This process not only increases finish adhesion but also helps to eliminate any flaws or rough patches from the wood.
Next, consider pre-treating the wood with a wood conditioner or primer. This step enhances the wood’s ability to absorb stains or finishes more evenly and promotes a consistent coloration. Applying a pre-treatment product helps achieve a more professional-looking result, reduces blotchiness, and ensures the longevity of your wood wall treatments.
Exploring Design Options and Patterns
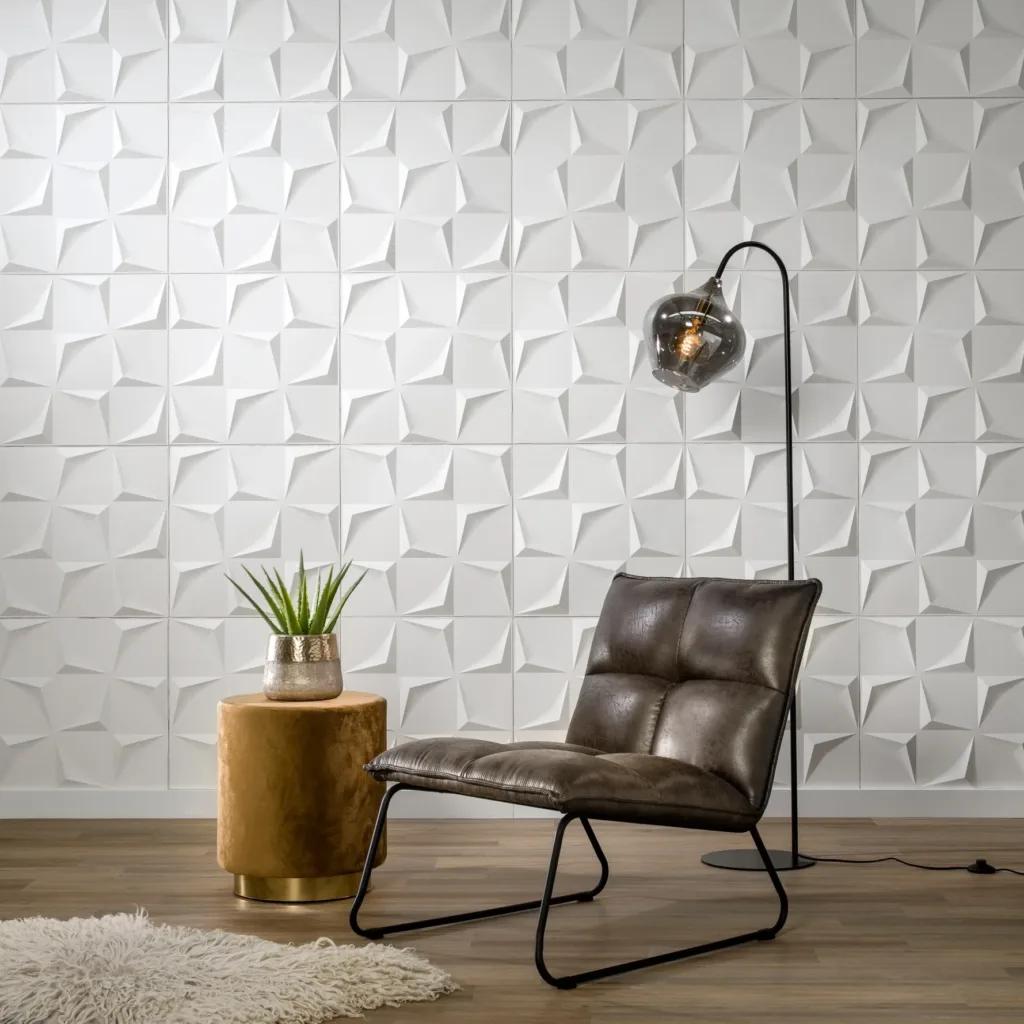
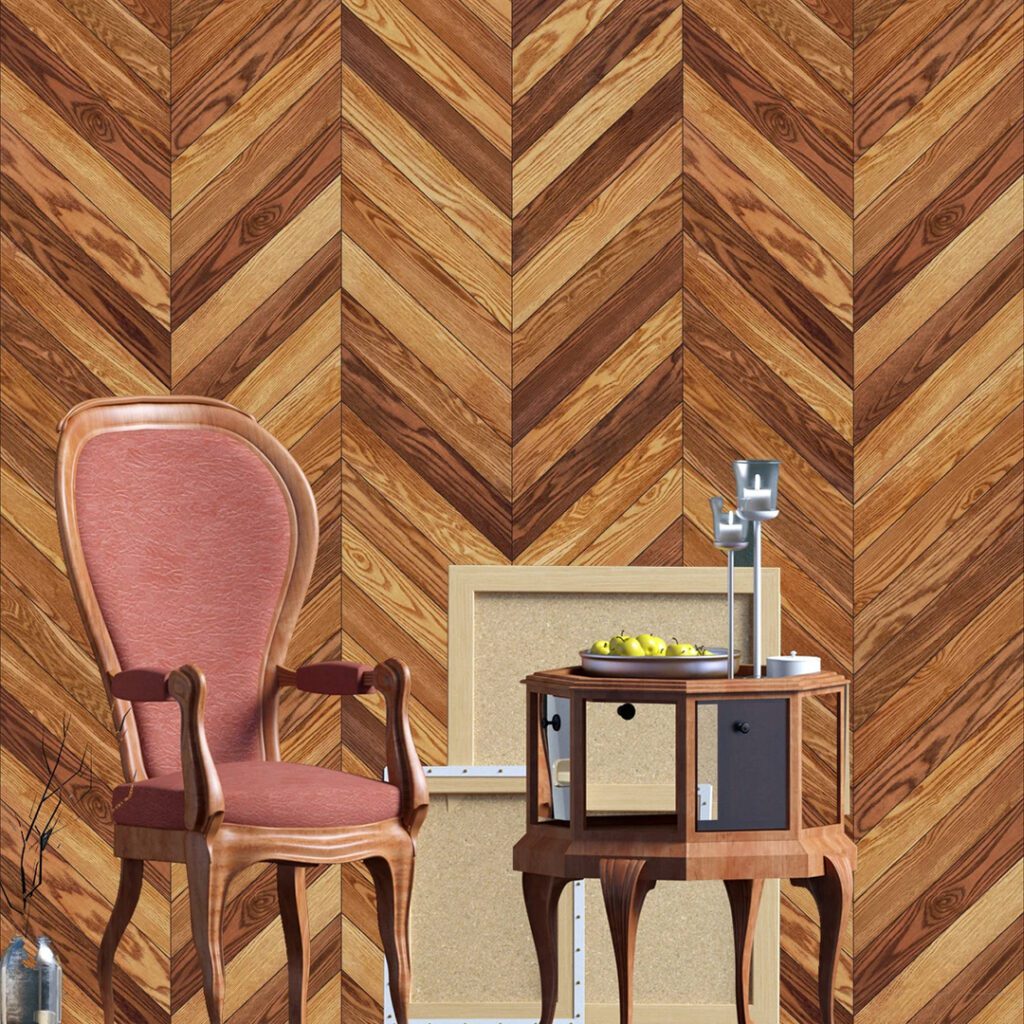
Wood wall treatments offer endless design possibilities to suit various design aesthetics and personal preferences. Consider the style and atmosphere you want to create in your space. Explore different design options, such as traditional horizontal or vertical paneling, shiplap, board and batten, or more intricate patterns like herringbone or chevron. Mix and match different wood finishes or combine wood with other materials for a unique look.
Consider the width and height of the planks, as well as any additional accents like beveled edges or decorative moldings. Visualize how the design will flow across the wall and how it will complement the overall space. By exploring different design options and patterns, you can create a truly customized and visually stunning wood wall treatment.
Applying Finishes and Stains
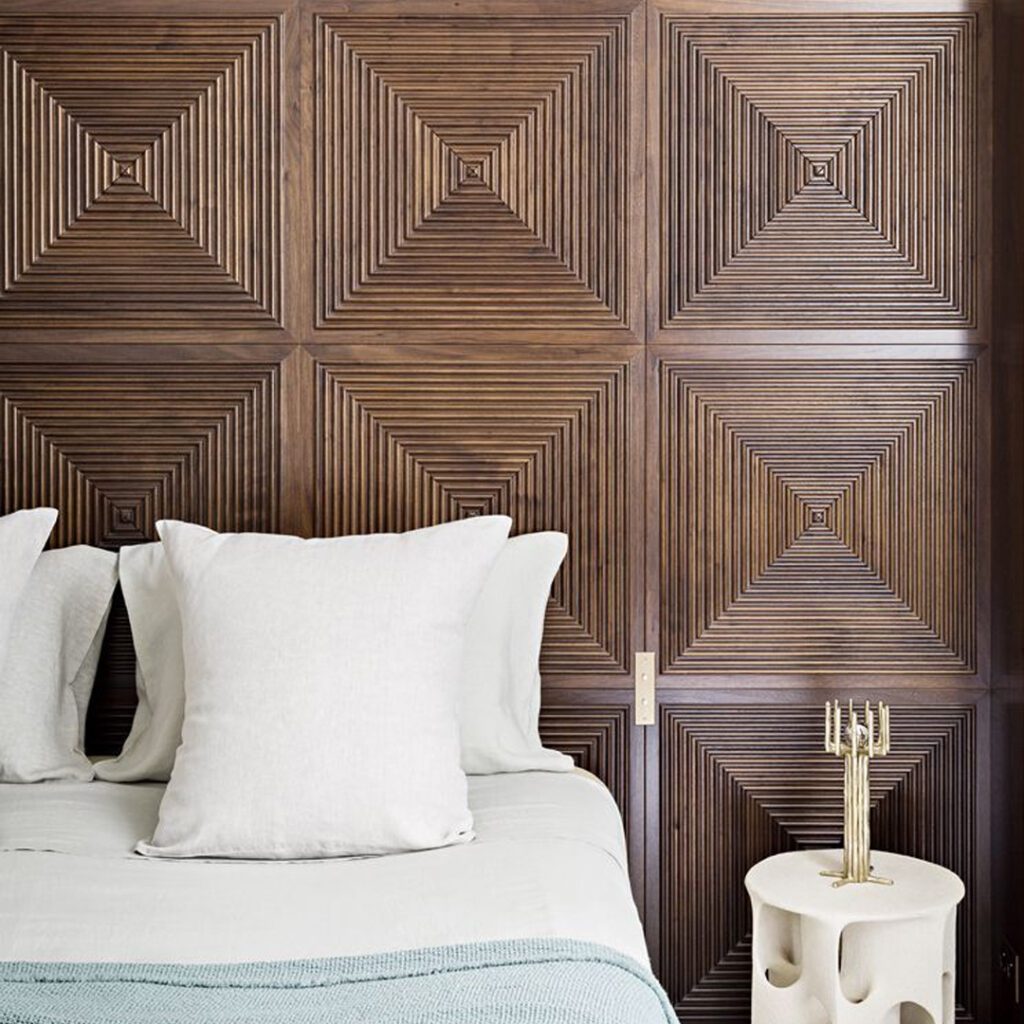
Applying finishes and stains is a critical step in enhancing the beauty of your wood wall treatments and protecting the wood from environmental factors. Select the appropriate finish based on your desired look and level of protection. Clear finishes like varnish or polyurethane preserve the natural color and grain of the wood, while stains add color, depth, and richness.
Before applying the finish or stain, it’s important to test it on a small, inconspicuous area of the wood or a sample piece to ensure it achieves the desired look. Follow the manufacturer’s instructions regarding application techniques, such as brushing, rolling, or spraying. Apply the finishes or stains evenly and in thin coats, allowing sufficient drying time between each layer. This process helps achieve a smooth and professional-looking finish.
Consider adding multiple coats for added depth and protection. Proper application of finishes and stains enhances the beauty of the wood and brings out its natural character, while also providing protection against moisture, UV rays, and wear.
Sealing and Maintenance for Longevity
To ensure the longevity and durability of your wood wall treatments, proper sealing and ongoing maintenance are essential. After applying the finishes or stains, it’s important to seal the wood with a clear topcoat or sealant. The sealant acts as a protective barrier, shielding the wood from moisture, UV rays, and everyday wear and tear. Choose a high-quality sealant that is compatible with the finish or stain used and follow the manufacturer’s instructions for application.
Regular maintenance is also crucial to keep your wood wall treatments looking their best. Clean the wood regularly using a mild soap and water solution or a recommended wood cleaner. Avoid using harsh chemicals or abrasive cleaners that may damage the finish. Inspect the wood periodically for any signs of damage or wear, and address them promptly to prevent further deterioration.
Repair any scratches or dents by following the appropriate repair techniques for your specific wood type and finish. By incorporating proper sealing and maintenance practices, you can enjoy the beauty and longevity of your wood wall treatments for years to come.
Conclusion
To master the art of wood wall treatments, you must pay close attention to detail, be creative, and eager to experiment. You may obtain amazing results that change your space by selecting the perfect wood, properly preparing and pre-treating it, experimenting with different design possibilities and patterns, carefully applying finishes and stains, and following suitable sealing and maintenance methods.
Accept the beauty and adaptability of wood wall treatments, and let your creativity show as you master this timeless design method in the next year. With the correct advice and techniques, you can build wood walls that fascinate, inspire, and improve your interior design and beyond.


