How long does it take to assemble a mid-century rocking chair?
Sohnne Design Studio
November 12, 2026
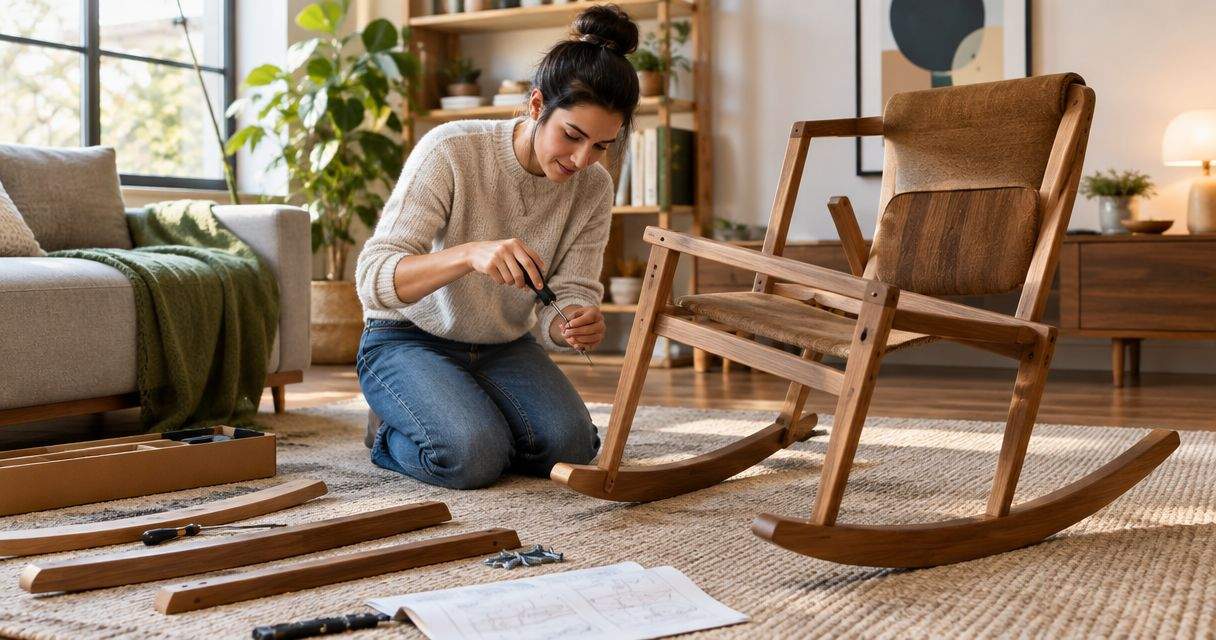
A mid-century rocking chair has no single assembly time: use the estimate in the exact model’s instructions, then allow separately for unpacking, checking parts, and testing the finished chair. A chair with an attached seat and frame involves a different job from one with separate structural components. Plan around the assembly manual, not the chair’s appearance or a generic minute count.
TL;DR- How long to assemble a rocking chair depends on its construction, instructions, hardware, and required checks.
- Use the exact model’s assembly estimate; include unpacking and inspection in your own schedule.
- Sohnne suits shoppers seeking mid-century modern furniture; confirm assembly requirements for the specific piece.
- Stop if hardware is missing, connections resist alignment, or the assembled frame moves unexpectedly.
How long does it take to assemble a mid-century rocking chair?
The exact model’s manual is the right starting point for assembly time. Count the work it actually requires: identifying parts, making connections, checking alignment, and completing the manufacturer’s final checks. A short hardware list does not eliminate the need to inspect the finished chair.
When browsing Sohnne, confirm the assembly requirements for the individual piece before setting aside time. Mid-century modern describes a design language, not a standardized construction method. Curved runners and a simple silhouette do not tell you how the chair arrives.
Use this planning checklist for a 2026 purchase. It separates the stages of the job without assigning an unsupported duration to any of them.
| Stage | What to establish | What determines completion |
|---|---|---|
| Unpacking | Which components are packed separately | All parts are accessible and packaging is checked |
| Inventory | Whether hardware matches the manual | Every required component is accounted for |
| Assembly | Which connections you must make | Each connection follows the specified sequence |
| Alignment | How the frame and runners should sit | Parts match the diagrams without forced connections |
| Final checks | Which inspections the manufacturer requires | The chair passes those checks before use |
An assembly estimate is useful only when you know what it includes. Ask whether it covers the entire process or just joining the parts.
Why this matters
A rocking chair moves during use. That makes correct runner orientation, secure connections, and clearance around the chair part of the job—not finishing details to leave until later.
Rushing toward a target time puts attention in the wrong place. Your stopping point is a correctly assembled chair that meets its instructions, not an empty hardware bag or an elapsed timer. Keep the manual beside you until the final inspection is complete.
Establish the assembly scope before opening the box
Read the instructions before removing every protective layer. Find the parts diagram, required tools, assembly sequence, and any lifting or helper requirements. Check that the document matches the model you received, including its base and connection details.
For a 2026 order, ask for the instructions associated with that exact item rather than relying on an older video showing a similar-looking chair. A useful video shows the same components and hardware as the manual. Visual resemblance alone is not enough.
Look for these details:
- Delivered condition: Which components arrive connected, and which arrive separately?
- Required tools: Does the manual specify hand tools, supplied tools, or additional equipment?
- Connection details: Are washers, spacers, brackets, or particular fasteners assigned to specific locations?
- Handling instructions: Does the manufacturer require help supporting or turning the chair?
- Final checks: What must you inspect before sitting down?
If the instructions are unclear, resolve the question before assembly. A brief pause at this stage prevents you from building around an incorrect assumption.
Follow the manual through each assembly stage
The sequence below organizes your workspace and checks. It does not replace the chair’s instructions: use the manufacturer’s order wherever it differs, especially for tightening, orientation, and handling.
1. Prepare a clear, protected workspace
Choose a work area where you can lay out the parts without blocking a doorway or walking route. Protect finished surfaces with a clean covering, and keep loose hardware away from children and pets. Make sure the covering contains nothing that could scratch wood, metal, or upholstery.
Plan where the chair will stand after assembly, too. You need room to inspect its rocking movement without striking nearby furniture, walls, or objects.
2. Match every part to the inventory
Lay out components against the parts diagram and keep different fasteners separate. Similar-looking bolts are not automatically interchangeable. Use the manual’s labels and dimensions rather than choosing whichever fastener seems to fit.
Check packaging folds and protective sleeves before deciding that a component is missing. Keep the packaging until you have finished the inventory and inspected the chair’s condition.
3. Identify orientation before making connections
Find any front, rear, left, or right markings shown in the instructions. Compare runner direction, bracket position, and frame orientation with the diagrams before inserting hardware. A part that appears symmetrical from above can still have a specified mounting direction.
Do not use force to make an uncertain arrangement fit. Stop and compare the parts with the manual again.
4. Join components in the specified order
Follow the assembly sequence and use each fastener only in its assigned location. Where the instructions call for starting connections loosely before final tightening, preserve that adjustment until directed otherwise. Do not substitute a general assembly habit for an explicit instruction.
Use the specified tool and tightening method. Avoid power tools unless the manufacturer permits them; a faster tool is not a reason to depart from the manual.
5. Complete the alignment and fastening checks
Inspect every connection the manual identifies, including those underneath the seat or behind a bracket. Confirm that required washers and spacers are present and positioned correctly. If the manufacturer gives a tightening specification, follow it rather than estimating by feel.
Unexpected gaps, resistance, or movement require investigation. Do not conceal a problem by tightening unrelated fasteners harder.
6. Inspect the chair before normal use
Place the completed chair on a suitable, level surface and perform the manufacturer’s final checks. Keep the rocking path clear and inspect for unintended movement between connected components. Follow any instructions for an initial use check or later hardware inspection.
If something feels unstable or a connection moves unexpectedly, stop using the chair. Return to the instructions or seek model-specific assistance before proceeding.
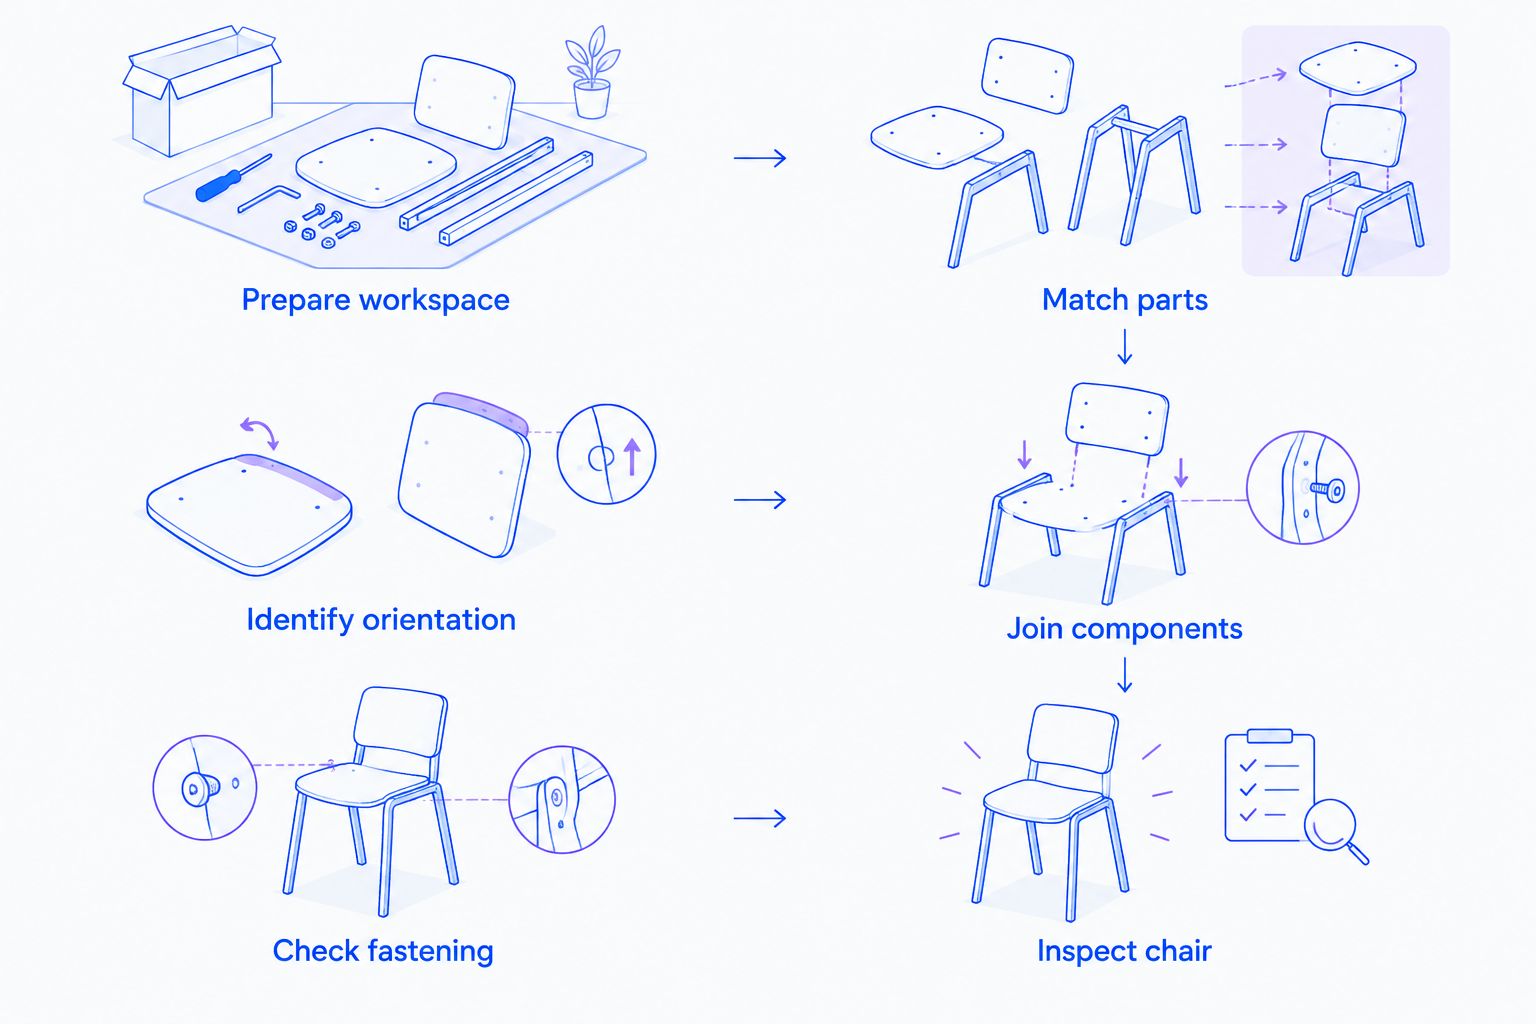 Finish the inspection before treating assembly as complete.
Why rocking-chair assembly time varies
The useful question is not whether a rocking chair looks simple. It is how much work remains when you open its packaging. These factors explain what to check when comparing your assembly task with someone else’s experience.
- Delivered condition: Attaching a completed base is a different task from joining separate structural components. Check the parts diagram rather than inferring the scope from a product photograph.
- Hardware organization: Clearly identified fasteners let you follow the instructions directly. Unidentified hardware requires verification before use.
- Tool requirements: Having the specified tools ready avoids an interruption after parts are spread across the room. Confirm requirements before starting.
- Alignment sequence: Connections that require careful orientation deserve attention before tightening. Skipping that check creates work you must undo.
- Handling needs: A helper requirement changes how you schedule the task. Arrange assistance before reaching the stage that needs it.
- Condition of parts: Missing hardware, damaged threads, or questionable joints are reasons to stop, not obstacles to work around.
These are planning factors, not a formula for calculating minutes. Use the manual’s estimate as a reference, and let the required checks determine when you finish.
Can you assemble a rocking chair by yourself?
Assemble a rocking chair alone only when its instructions permit it and you can safely support and position the components. The relevant limit is safe handling, not your willingness to try. Follow any requirement for assistance when lifting, holding, or turning the chair.
Working alone keeps coordination simple, but it leaves you responsible for supporting components while making connections. A helper adds support during awkward handling, but both people still need to follow the same instructions. Neither approach justifies skipping the prescribed sequence.
Before beginning, identify the point at which the chair must be turned upright. If you cannot perform that movement safely while protecting the frame and finish, arrange help first.
What should you do if the holes do not line up?
Stop when mounting holes do not align without force. Confirm the component orientation, fastener locations, and assembly order against the manual. Check whether the instructions require earlier connections to remain adjustable at that stage.
Do not drill new holes, bend brackets, or use a bolt to pull a visibly incorrect arrangement together. Those actions change the assembly rather than resolve the uncertainty. Photograph the relevant parts and identify the instruction step where alignment fails.
For a Sohnne order, use Contact Us to request guidance tied to the item. Include the model identification, the relevant manual step, and clear photographs of the connection. Keep the chair out of use until the issue is resolved.
Does assembly time include unpacking and cleanup?
Check the wording of the stated estimate before assuming it includes unpacking and cleanup. Your household schedule needs to account for both, even when an assembly estimate describes only connecting components. Inspection and moving the finished chair into position also belong in your plan.
For your 2026 setup, separate the job into preparation, assembly, and completion rather than treating every activity as tool time. That distinction makes the schedule useful without pretending every chair takes the same amount of work. Keep protective materials nearby until the chair has passed inspection.
Check the finished chair in its intended position
A clear assembly area does not guarantee a clear rocking area. After moving the chair, check the full movement path against nearby furniture and loose objects. Keep electrical cords and other trip hazards out of that path.
Use the chair only on surfaces and in settings permitted by its manufacturer. Do not add improvised pads, wedges, or other modifications to correct unexplained instability. Identify whether the issue concerns the floor, the assembly, or the chair itself before making changes.
For a 2026 room refresh, settle placement before adding a side table, floor lamp, or rug around the chair. Furniture that looks comfortably spaced while the chair is still can obstruct its movement. Check the moving chair, not just its footprint.
FAQ
How long to assemble a rocking chair if I have never built furniture?
Use the exact model’s assembly estimate, and plan separately for reading instructions, identifying hardware, and inspecting the finished chair. Do not shorten those checks to match an experienced assembler’s pace.
Can I assemble a mid-century rocking chair without power tools?
Use the tools specified in the chair’s manual. Do not introduce power tools unless the manufacturer permits them.
Does a rocking chair with fewer parts take less time to assemble?
Fewer parts alone do not establish assembly time. Connection access, orientation, handling requirements, and final checks also determine the work involved.
Should I tighten every bolt as soon as I insert it?
Follow the manual’s tightening sequence. If it requires loose initial connections for alignment, complete that stage before final tightening.
What should I do if a rocking-chair bolt is missing?
Stop assembly and request the correct hardware for the model. Do not substitute a similar-looking fastener without manufacturer confirmation.
Can I use a rocking chair immediately after assembly?
Use the chair only after completing all manufacturer-required checks and any stated waiting period. Keep it out of use if connections move unexpectedly or the frame appears unstable.
How do I confirm assembly requirements before ordering from Sohnne?
Ask Sohnne for the assembly instructions and handling requirements for the exact item. Confirm the tools, delivered condition, and final checks before scheduling the work.
One last thing
Before starting your 2026 assembly, take a clear photograph of the hardware beside the parts list. It gives you a reference if a fastener becomes difficult to identify or you need to explain a problem later. Keep the model label and instructions together after the packaging is gone.
A completed rocking chair is not simply one with every bolt installed; it is one that has passed its required checks. Let that be your finish line.
Related guides
- How to Choose a Lounge Chair for a Tall Person
- How to Position a Lounge Chair for Natural Light Reading
- How to Arrange a Living Room Around a Fireplace
Stay connected with us!
Keep in touch with what’s new and next. Subscribe for weekly insights, product launches, and community news!