

Assembly Instruction
Best-practice prep, tools, and troubleshooting for assembling any Sohnne piece. For product-specific manuals, open your product page and download the Tearsheet PDF from the Dimensions tab.
Product Manuals
Download the assembly guide or user manual for your specific Sohnne piece. PDFs open in a new tab.
 Alanda 18 Coffee TableUser Manual · PDF
 Arne SwivelAssembly Guide · PDF
 Bambola Lounge ChairAssembly Guide · PDF
 Bubble ArmchairAssembly Guide · PDF
 Bubble LoveseatAssembly Guide · PDF
 Bubble SofaAssembly Guide · PDF
 Capitol Complex 051Assembly Guide · PDF
 Capitol Complex 053Assembly Guide · PDF
 CH07 Shell ChairAssembly Guide · PDF
 CH25 Lounge ChairAssembly Guide · PDF
 Chandigarh Easy ChairAssembly Guide · PDF
 Chieftain ArmchairAssembly Guide · PDF
 Corbusier LC2 ArmchairAssembly Guide · PDF
 Corbusier LC2 LoveseatAssembly Guide · PDF
 Corbusier LC2 SofaAssembly Guide · PDF
 Corbusier LC3 ArmchairAssembly Guide · PDF
 Corbusier LC4 ChaiseAssembly Guide · PDF
 DS-600 SnakeAssembly Guide · PDF
 Ducaroy ConfigurationUser Manual · PDF
 Ducaroy CornerAssembly Guide · PDF
 Ducaroy Corner — LeatherAssembly Guide · PDF
 Ducaroy Fireside ChairAssembly Guide · PDF
 Ducaroy Fireside Chair — LeatherAssembly Guide · PDF
 Ducaroy LoveseatAssembly Guide · PDF
 Ducaroy Loveseat — LeatherAssembly Guide · PDF
 Ducaroy OttomanAssembly Guide · PDF
 Ducaroy Ottoman — LeatherAssembly Guide · PDF
 Ducaroy SofaAssembly Guide · PDF
 Ducaroy Sofa — LeatherAssembly Guide · PDF
 E1027Assembly Guide · PDF
 Etcetera Lounge ChairAssembly Guide · PDF
 Fritz Coffee TableAssembly Guide · PDF
- Fritz Coffee Table 39" CoverUser Manual · PDF
 Fritz SeriesAssembly Guide · PDF
 JacobsenAssembly Guide · PDF
 Knitty Lounge ChairAssembly Guide · PDF
 Le Mura ArmchairAssembly Guide · PDF
 Marenco ArmchairAssembly Guide · PDF
 Pacha Lounge ChairAssembly Guide · PDF
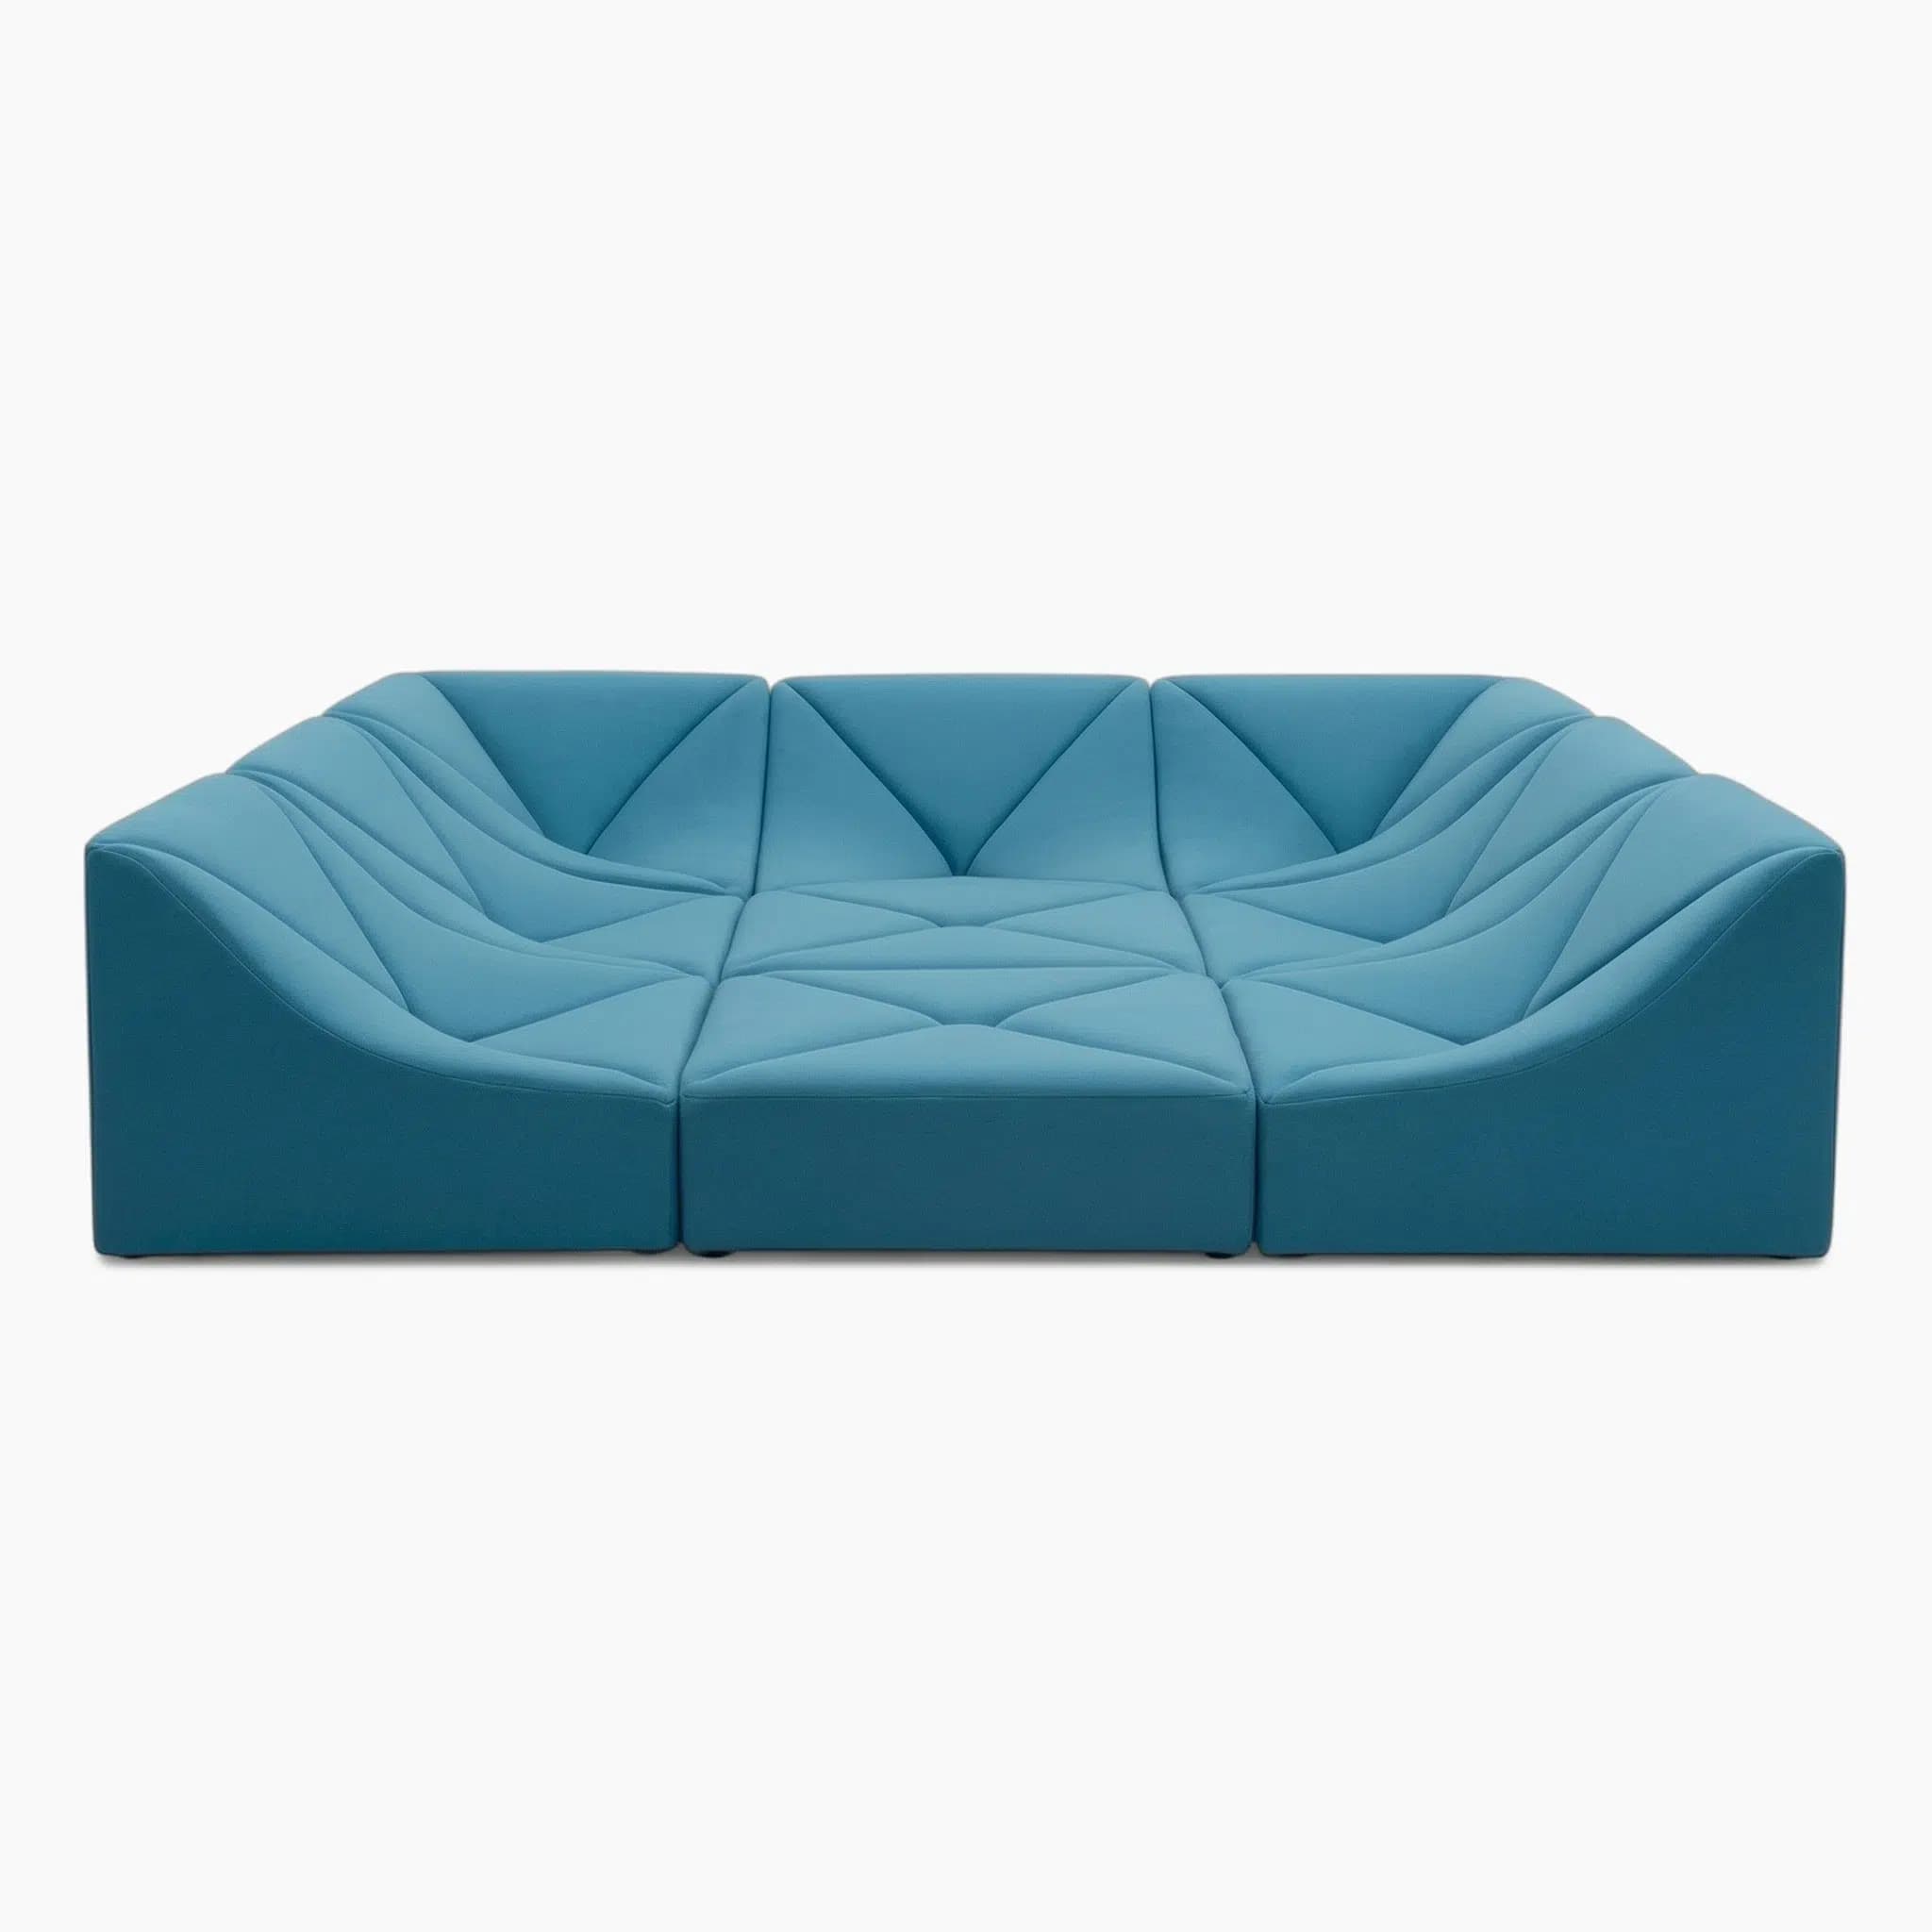 Paulin EnsembleAssembly Guide · PDF
 Rivenn Leather ReclinerAssembly Guide · PDF
 Scando Coffee TableAssembly Guide · PDF
 Soriana ChairAssembly Guide · PDF
 Terminal 1 Chaise LoungeUser Manual · PDF
Showing 44 of 44 manuals
Before you start
Set yourself up for a smooth assembly. Most issues we see in support arise from skipping these five minutes of prep.
Read the full instructions first
Each Sohnne piece ships with a printed step-by-step guide. Read it end-to-end before turning a screw — knowing the destination prevents wrong-orientation errors that are tedious to undo once parts are tightened.
Clear an open work surface
Allow at least 1.5× the footprint of the assembled piece, on carpet or a soft blanket so you don't scratch finished surfaces. Keep pets and children out of the workspace — small hardware is a choking hazard.
Verify the parts list
Lay all parts and hardware on the work surface and tick them against the inventory list in your manual. If anything is missing or damaged, photograph it and contact us before starting — we'll dispatch the part and pause the clock on your warranty.
Plan for two people
Sofas, beds, and large credenzas are designed for two-person assembly. A second pair of hands makes alignment faster and prevents the panel-flex that can snap a press-fit dowel.
Set aside the right amount of time
Smaller pieces (lounge chair, side table) take 20–40 minutes. Larger modular furniture (sofa, bed, credenza) takes 60–120 minutes for two people the first time. Don't try to rush a complex assembly into the gap before a dinner party.
Tools you may need
Every Sohnne piece ships with the Allen keys and bolts required for the build. The items below are optional household tools that make the job more comfortable on larger pieces.
- Phillips-head screwdriver — only required for a handful of pieces; check your manual
- Soft-grip work gloves — protects your hands and the soft-touch finish on legs
- Rubber mallet — for seating dowels flush without marking the wood; never substitute a metal hammer
- Painter's tape — masks edges where you'll be aligning panels, prevents micro-scratches
- Spirit level — for credenzas and shelving on uneven floors
- Microfiber cloth — wipes down dust and fingerprints before tightening final fasteners
Best practices during assembly
Universal guidelines that apply to every Sohnne piece — these come straight from our QA workshop where every silhouette is built before it ships.
Hand-tighten everything first
Run all bolts in finger-tight before reaching for the Allen key. This lets the frame self-align as you go and prevents one over-tight bolt from forcing the next piece off-square. Final-torque only after the whole frame is together.
Tighten in a star / cross pattern
On any panel with four or more fasteners, tighten diagonally opposite bolts in steps. Even pressure prevents warping and keeps the joint flush.
Don't over-torque
Tighten until the bolt seats and the panel sits flush — then a quarter-turn more, no further. Over-torquing strips the threaded inserts and is the #1 reason for warranty replacement parts.
Keep the bag of spares
Sohnne ships extras of every fastener and dowel. Keep the spare-parts bag with your warranty paperwork — you'll thank yourself if a bolt rolls under a baseboard during a future re-assembly.
Test movement before final tightening
On reclining or modular pieces, do a dry run of the recline / modular reconfiguration before final torque. If it doesn't move smoothly with bolts at three-quarter tight, something is misaligned — back off and re-seat rather than forcing.
Common issues and what to do
A bolt won't thread in
Stop turning. Forcing strips the insert. Back the bolt out, check that you have the right bolt for the hole (the manual labels every fastener), and inspect the insert for wood debris — clear with a toothpick or compressed air.
Panels don't sit flush
Almost always means an earlier joint is over-tightened. Loosen the previous joint a quarter-turn, re-seat the current panel, then re-tighten in sequence. If panels still don't meet, check that you haven't installed a left-hand part on the right-hand side (mirror-image parts are clearly labelled in the manual).
Cushion or fabric looks wrinkled out of the box
Compression wrinkles from shipping. Lay the cushion flat for 24 hours, or steam from 15 cm with a garment steamer to relax fibres. The piece is designed to settle into shape over the first week of use.
Squeak or wobble after assembly
Re-check every fastener after the first 24 hours — wood and joints settle as the structure takes load, and a quarter-turn re-tighten is normal. If the squeak persists past day three, the threaded insert may be loose; contact support and we'll send a replacement insert.
Damage during assembly
Stop and photograph the damage before continuing. Email the photo to support@sohnne.com — minor finish damage during assembly is often covered under our warranty if reported within 48 hours of delivery.

White-glove setup
Book Assembly Service
Our trained team delivers, unboxes, assembles your Sohnne piece, and removes the packaging — all in one visit. Available across the continental US.
Book an Appointment