Slat Panel Installation: 8 Step-by-Step Guide for Beginners

Sohnne Design Studio
February 4, 2024

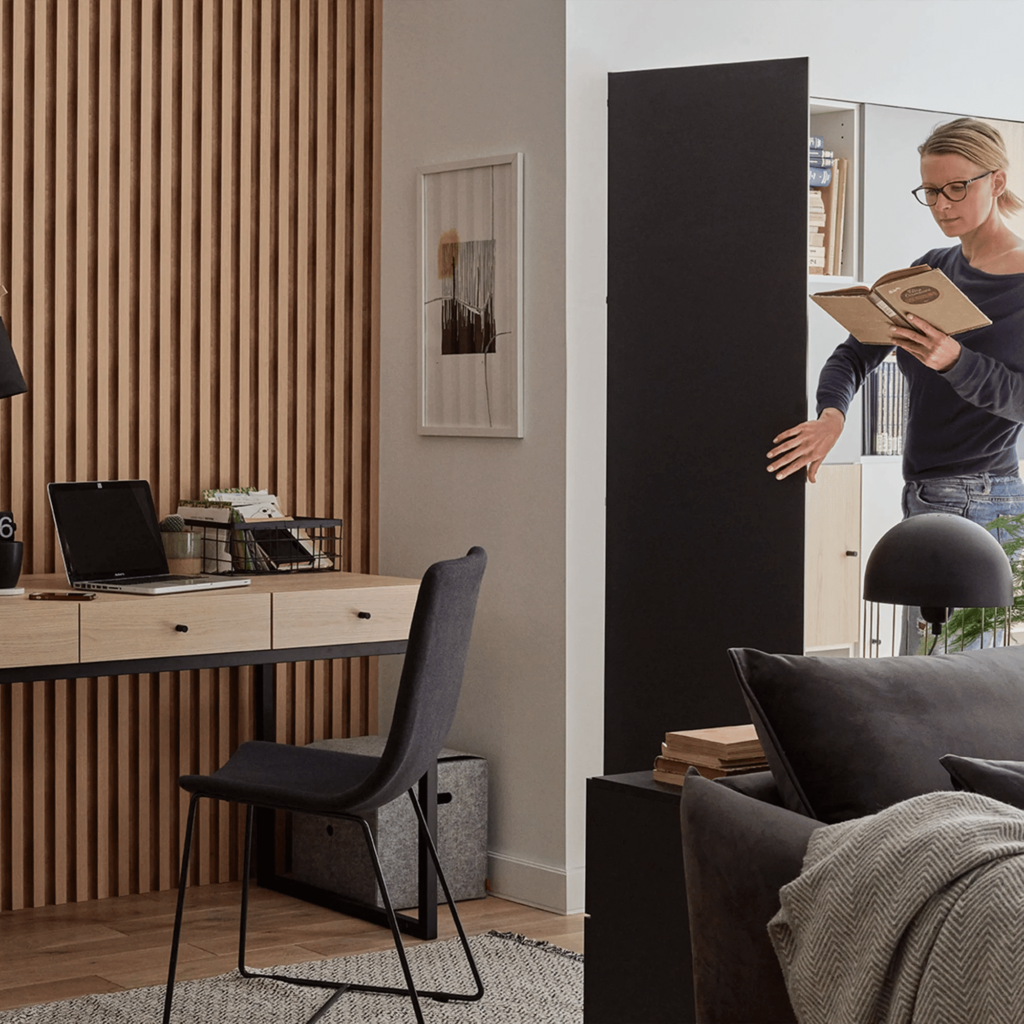
Transforming any room with stylish, modern slat panels has never been easier for beginners. This comprehensive guide provides a step-by-step approach to slat panel installation, breaking down the process into manageable steps.
Whether looking to add a touch of elegance to a living space or wanting to enhance the aesthetic appeal of a bedroom, mastering the installation of slat panels can significantly impact your interior design. With the right tools and a bit of patience, anyone can achieve a professional-looking finish, making any room stand out with a fresh, contemporary look.
Choosing the Right Slat Panels
Selecting the appropriate slat panels for your space is crucial. Consider the room’s overall design and the mood you wish to create. Panels come in various materials, colors, and finishes, offering flexibility to match any decor. Measure the area carefully to ensure you purchase enough panels to cover the desired space, taking into account the panel sizes available.
Gathering Necessary Tools and Materials
Before starting, ensure all necessary tools and materials are on hand. A typical installation might require a measuring tape, level, saw, drill, screws, and wall anchors. Having everything ready beforehand can streamline the process, making the installation smoother and quicker.
Related to: Modern Leather Accent Chairs Selection: Best Practices For 2023
Preparing the Installation Area

Preparation is key to a successful installation. Clean the wall thoroughly and remove any obstructions. Mark the wall where the panels will be installed using a pencil and a level to ensure straight, even placement. This step is vital for achieving a polished look.
Measuring and Cutting Panels to Size
If the panels need to be trimmed to fit your space, measure twice and cut once. Use a saw suitable for the material of your slat panels for clean, precise cuts. Sand the edges if necessary to avoid any sharp or rough finishes.
Attaching the First Panel

Starting correctly is essential. Choose one corner of the area to begin and align the first panel carefully against your marked lines. Ensure it is level before securing it to the wall with screws or the recommended fasteners. This panel sets the tone for the rest of the installation.
Related to: How To Choose Accent Chairs For A Minimalist Home – Easy Guide
Continuing with Subsequent Panels

After the first panel is securely attached, continue with the next, ensuring tight alignment between panels for a seamless appearance. Check that each panel is level as you go to maintain a straight, uniform look across the entire wall.
Finishing Touches

Once all panels are installed, inspect the wall for any gaps or misalignments. Use wood filler if necessary to fill in screw holes or seams. Once dry, sand lightly for a smooth finish. Consider applying a finish or sealant to protect the panels and enhance their appearance.
Maintenance and Care

Proper maintenance will keep your slat panels looking their best. Dust regularly and wipe with a damp cloth as needed. Avoid harsh chemicals or abrasive cleaners that could damage the finish. With proper care, your slat panels will continue to add beauty and style to your room for years to come.
Related to: Maximized Minimalism: Best Accent Chairs for Small Spaces
Factors to Consider for a Step-by-Step Guide for Beginners
When diving into the world of DIY with a project like slat panel installation, starting with a solid foundation of knowledge is key. These factors are designed to guide beginners through the essential steps and considerations, ensuring a smooth and successful transformation of any space.
- Choose the Right Materials: Select the ideal wood or material considering durability, grain, and finish to match the room’s aesthetic.
- Measure Twice, Cut Once: Precision in measurements is crucial for fitting and creating a seamless appearance.
- Prepare Your Workspace: Ensure all necessary tools and materials are at hand to facilitate a smooth workflow.
- Consider the Wall Surface: Identify the type of wall to determine the appropriate mounting hardware for secure attachment.
- Plan for Electrical Outlets and Switches: Strategize the layout to integrate or circumvent electrical fixtures without compromising design.
- The Importance of Leveling: Use leveling tools to guarantee straight and visually appealing installations.
- Securing the Panels: Decide on the attachment method—nails, screws, or adhesive—based on the wall and panel material.
- Finishing Touches: Apply the chosen finish to protect the wood and enhance its natural beauty.
- Spacing Between Slats: Calculate optimal spacing for a balanced look and functional ventilation or wiring needs.
- Lighting Considerations: Plan for the impact of lighting on the slats to enhance texture and shadows for added visual interest.
- Moisture and Temperature: Account for environmental factors that may affect the wood’s expansion and contraction.
- Safety Measures: Wear protective gear and follow safety guidelines to prevent accidents during installation.
- Maintenance Plan: Establish a routine for cleaning and upkeep to preserve the panels’ appearance and longevity.
- Customization Options: Explore possibilities for personalizing the panels with colors, patterns, or integrated shelving.
- Future Modifications: Consider how easily the panels can be removed or altered for access or updates to the wall behind.
- Cost Analysis: Budget the project carefully, factoring in materials, tools, and potential professional assistance if needed.
- Acclimatization of Materials: Allow wood or other materials to adjust to the room’s climate to prevent warping after installation.
- Regulatory Compliance: Check local building codes and regulations to ensure the installation meets all required standards.
- Integration with Decor: Ensure the slat panels complement the overall design theme and furniture of the room.
- Feedback and Adjustment: Be prepared to make adjustments based on the look and feel of the panels once installed, to achieve the desired outcome.
By keeping these factors in mind, beginners can confidently approach slat panel installation, equipped with the insights needed to navigate the process from start to finish. This careful preparation paves the way for a beautifully finished project that enhances any room’s aesthetic and functionality.
Conclusion
Installing slat panels is a straightforward process that can dramatically change the look and feel of any room. By following this step-by-step guide, beginners can confidently undertake this project, achieving professional results that elevate their home’s interior. It’s an empowering DIY task that not only enhances your living space but also provides a sense of accomplishment.
Remember, the key to a successful slat panel installation lies in preparation, precision, and patience. With these in hand, you’re well on your way to transforming your space with the sophisticated, modern appeal of slat panels.